Installation Instructions
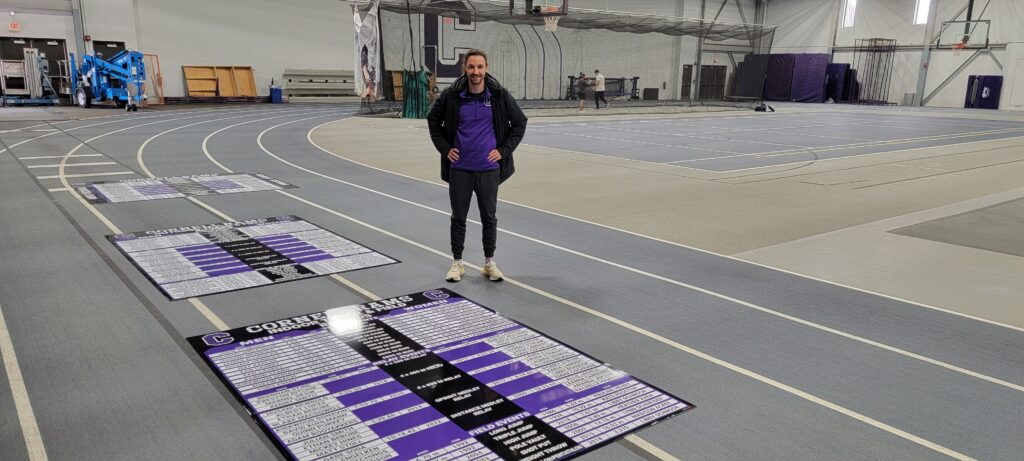
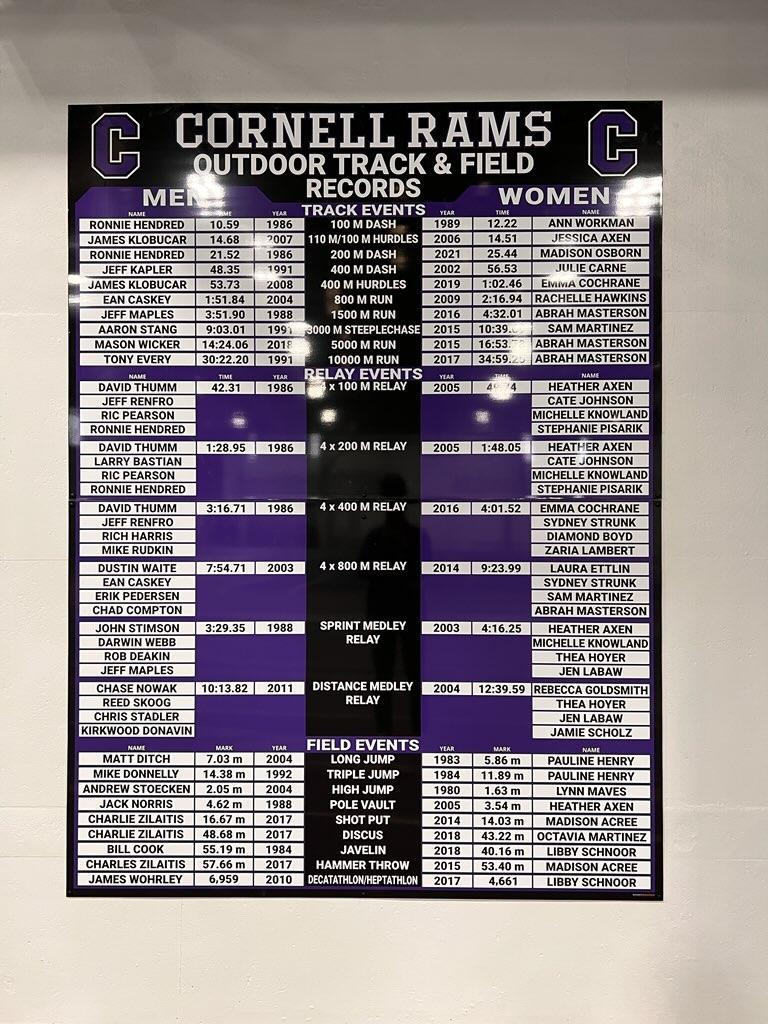
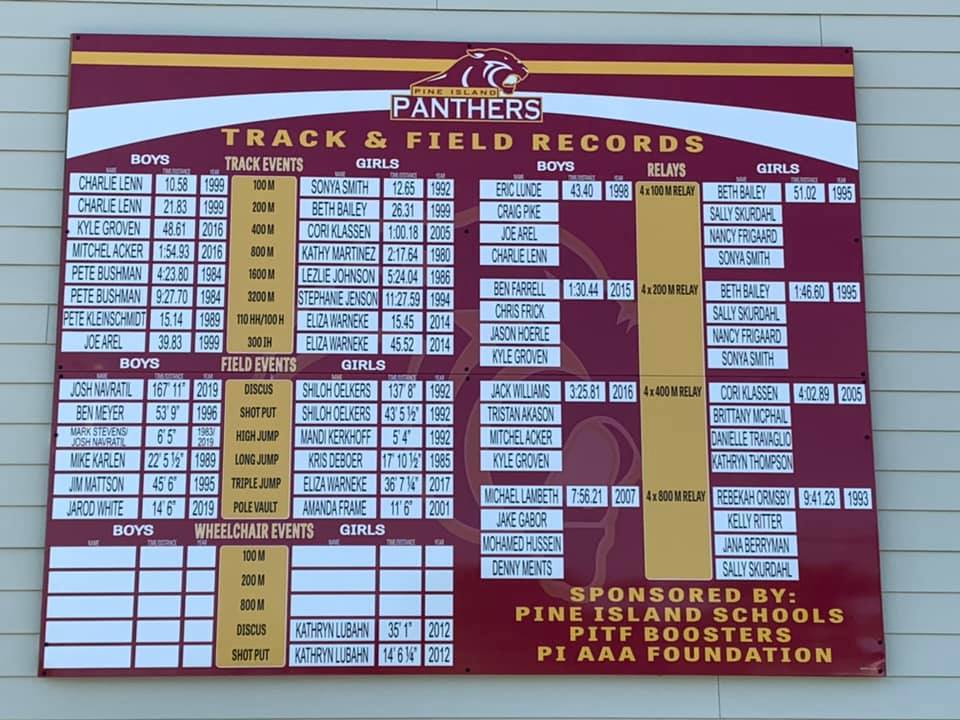
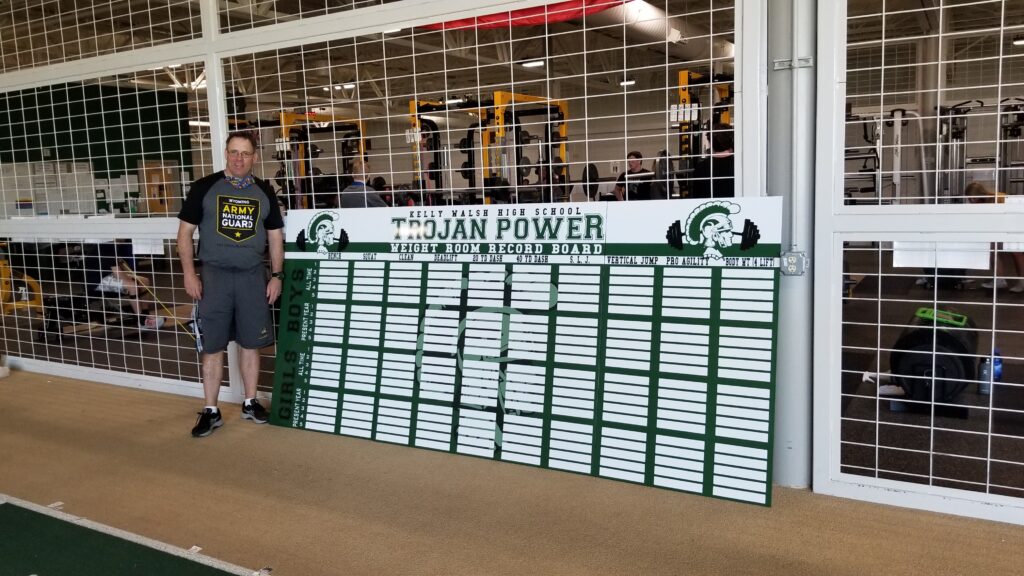
General Mounting Instructions
The following information may be helpful in preparation for the mounting.
1. Mark the spots in pencil where your record board will go. A line at the top and left side will work fine (use a level).
2. Selecting the proper screws ahead of time is also important. Make sure they are matched to the material they are going into (block, brick, drywall, etc.) The Screw head must be 5/16" in diameter or smaller to fit inside the black snap cap covers that we provide. The record boards are only 1/8" thick, so the length of the screws can be short as the vertical weight for each board is less than 15lbs. Anchors for screws are totally dependent of the types of screws used, materials and positions of where they are placed.
3. We do not drill holes in the boards, so before these are hung, you will want to add 4-6 holes to each board. Holes should be at least 3/4" to 1" from the edges. The hole size will be determined by the size of the screws, of course. The positioning should always be the same: 2 at the top corners, 2 halfway down the side, and 2 at the bottom, for larger boards. For 4x4's and smaller, 2 at top corners and 2 at the bottom corners is sufficient.
4. After mounting, you can use a soft cloth or microfiver cloth with non-streaking glass cleaner to clean or remove any fingerprint smudges.
Mounting onto Brick or Concrete
Supplies Needed
*CRL 1/4″ Hole 1″ Length 7-8-9 Screw
*Expanding Plastic Screw Anchors
*#8 1-1/4″ pan head sheet metal screws
*15/64″ masonry bit
*3/16″ drill bit (to drill through board)
Anchors need to be placed in the mortar of a standard brick wall, so we do not pre-drill holes
Step 1
Using a pencil, lay out the placement of the boards on the wall.
Step 2
Hold board to pencil marks to reveal where the anchor points will be (this will require a couple of helpers).
Step 3
Drill a 3/16″ hole in the board right on the grout line carefully so as not to dull the drill bit on the mortar.
Step 4
Using a marks-a-lot or similar, mark through the hole to the mortar revealing where the anchor points will be.
Step 5
After all anchor points have been drilled and marked, remove the board and locate the marks.
Step 6
At each mark, drill a 15/64″ hole in the mortar using a masonry bit.
Step 7
Tap the ribbed anchor in the hole with a hammer until flush. Be careful not to hit too hard damaging the anchor. (If it seems too tight and will not go in, ream out the hole just a little using the same masonry bit).
Step 8
After drilling all holes and placing the anchors, place board back on the wall matching the holes to the anchors.
Step 9
Slide the #8 screw through the included snap-cap cover and screw it in the hole and into the anchor. Be careful not to over tighten…just snug.
Step 10
Once all screws are in and tight, snap all covers to conceal screw heads.
Note: There will be concrete dust on the boards after installation. Use a feather duster or similar to remove (Just wiping it may scratch the board). Use an alcohol based solvent to clean afterwards (denatured alcohol is ideal).
Modular Boards
Large Graphic Displays


Reduce Shipping Costs
We ship boards to anywhere in the continental U.S. In order to keep shipping costs down, we offer modular panels to reduce the size and weight of shipping crates. When these boards are mounted, they appear seamless.
Boards Larger than 5'
The max width of vinyl is 60″, so when we use modular panels, there is no limit to the size of your display.


